
How to Build a Custom Gaming PC – Step-by-Step Guide
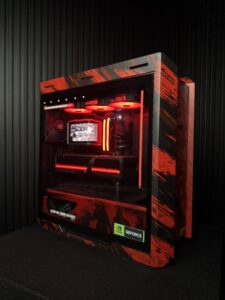
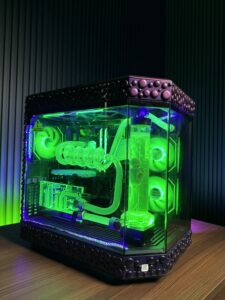
Building a custom gaming PC allows you to create a system tailored to your performance needs and visual style. Unlike prebuilt systems, custom PCs offer flexibility in choosing components, cooling solutions, and aesthetics.
Step 1 — Choose Your Components
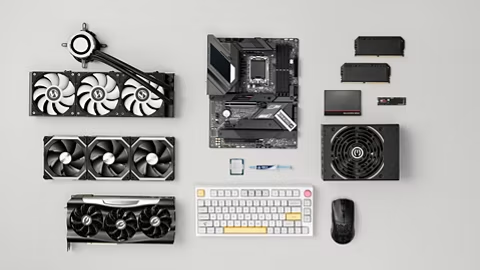
Start by selecting the core hardware:
- CPU (Processor)
- GPU (Graphics Card)
- Motherboard
- RAM
- Storage (SSD / NVMe)
- Power Supply
Make sure all components are compatible.
Step 2 — Prepare the Case
Install standoffs, route cables, and mount case fans before inserting hardware.
Step 3 — Install the Motherboard & CPU
Secure the motherboard, install the processor, and apply thermal paste before mounting the cooler.
Step 4 — Install GPU & Storage
Insert the GPU into the PCIe slot and secure SSDs or HDDs.
Step 5 — Cable Management
Route cables behind the motherboard tray for airflow and aesthetics.
Final Step — Testing
Power on the system, install OS, and run stress tests.